こんにちは。
今年もよろしくお願いします。
あるプロジェクトで、記事系コンテンツを組み込みたいという話が上がり、microCMSを触ってみたのでその方法を今回はご紹介します。
Contentfulも触ったので、比較記事もそのうち書きたいなーと思っております。
microCMSとは
microCMSは、headless CMSの一つです。
海外のサービスであれば、ContentfulやPrismicなどが有名ですが、国内サービスの中ではmicroCMSが最もメジャーではないでしょうか。
headless CMSとは、記事系コンテンツなどの編集画面と、それを配信するAPIからなるCMSのことです。
このようなheadless CMSを組み込むことで、記事系コンテンツを簡単に実装できるようになります。
RailsでCMSをつくるのは結構大変
ここまで読んでいる方には、RailsでCMS機能自体を実装してしまえばいいじゃん!と考える方もいるかもしれません。
もちろん、CMS機能を実装することも可能ですが、Railsで理想的なCMSを実装するのは結構大変です。
とくに大変な部分としては、コンテンツの入力機能の部分になるでしょうか。
画像を挿入するときに画像を入力できるエディタが必要になりますし、画像のアップロード機能も必要になります。
このあたりを考慮し、今回はmicroCMSを使ってみました。
やっていくぞ
では、実際にmicroCMSを使ってみましょう。
microCMSのアカウントを作成する
まずは、microCMSのHPからアカウントを作成します。
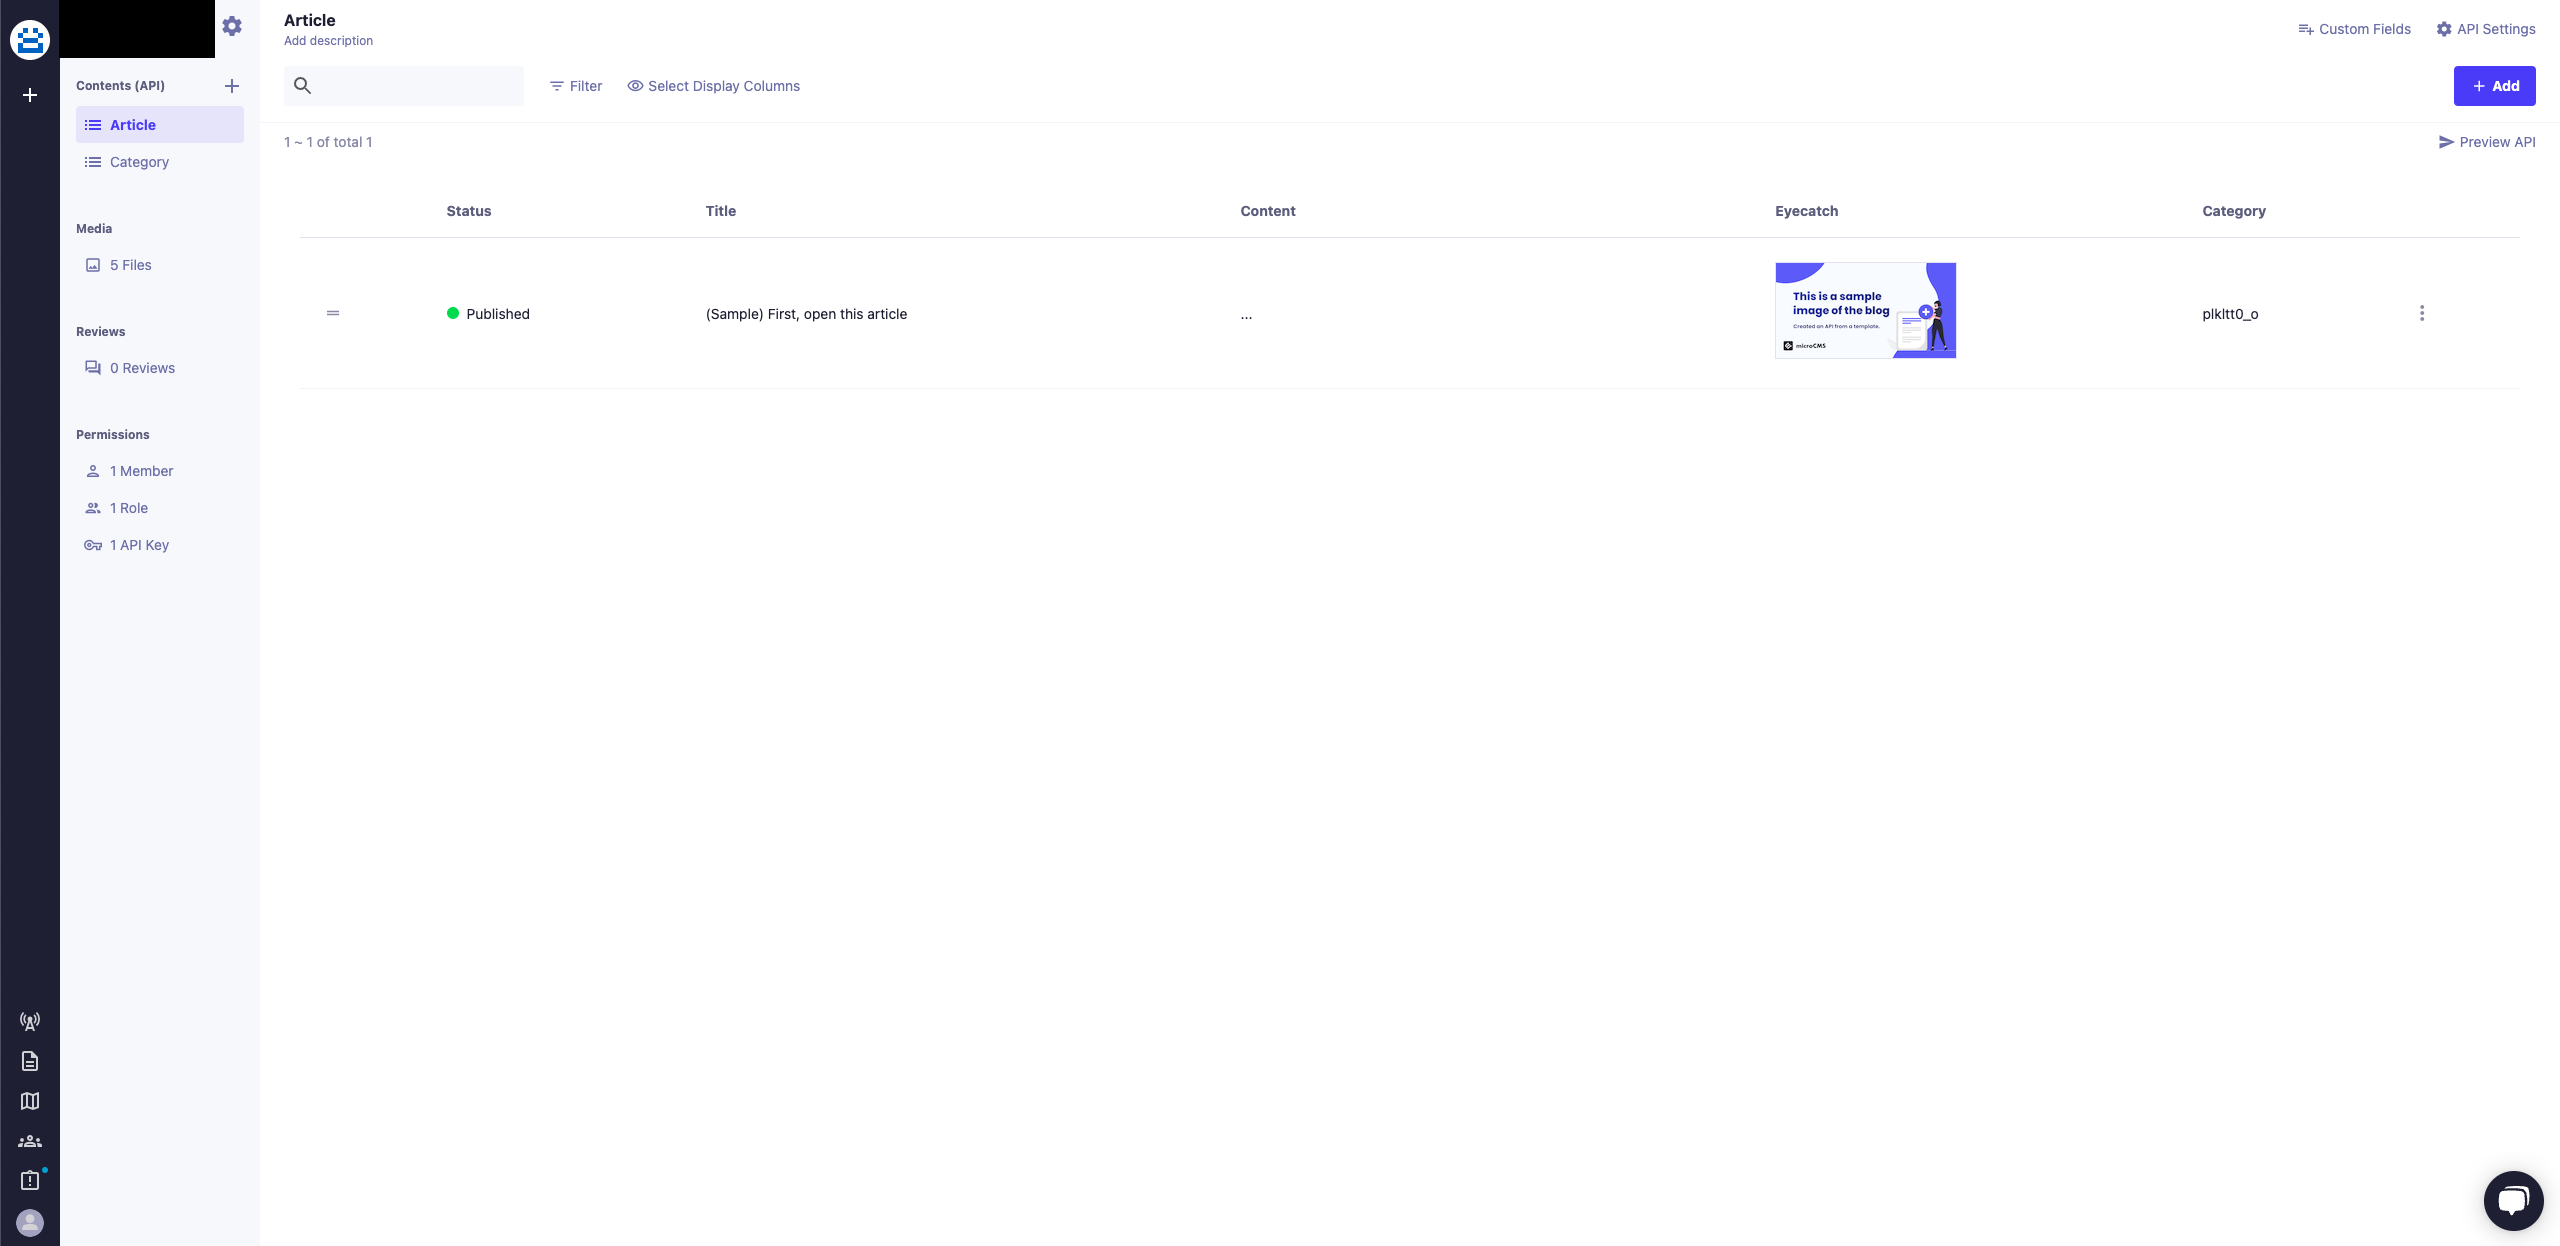
アカウントを作成すると、以下のような画面が表示されます。
Permissions > Api Key からAPIキーを発行します。
僕の場合はすでにdefaultのAPIキーが発行されていたので、それを使います。
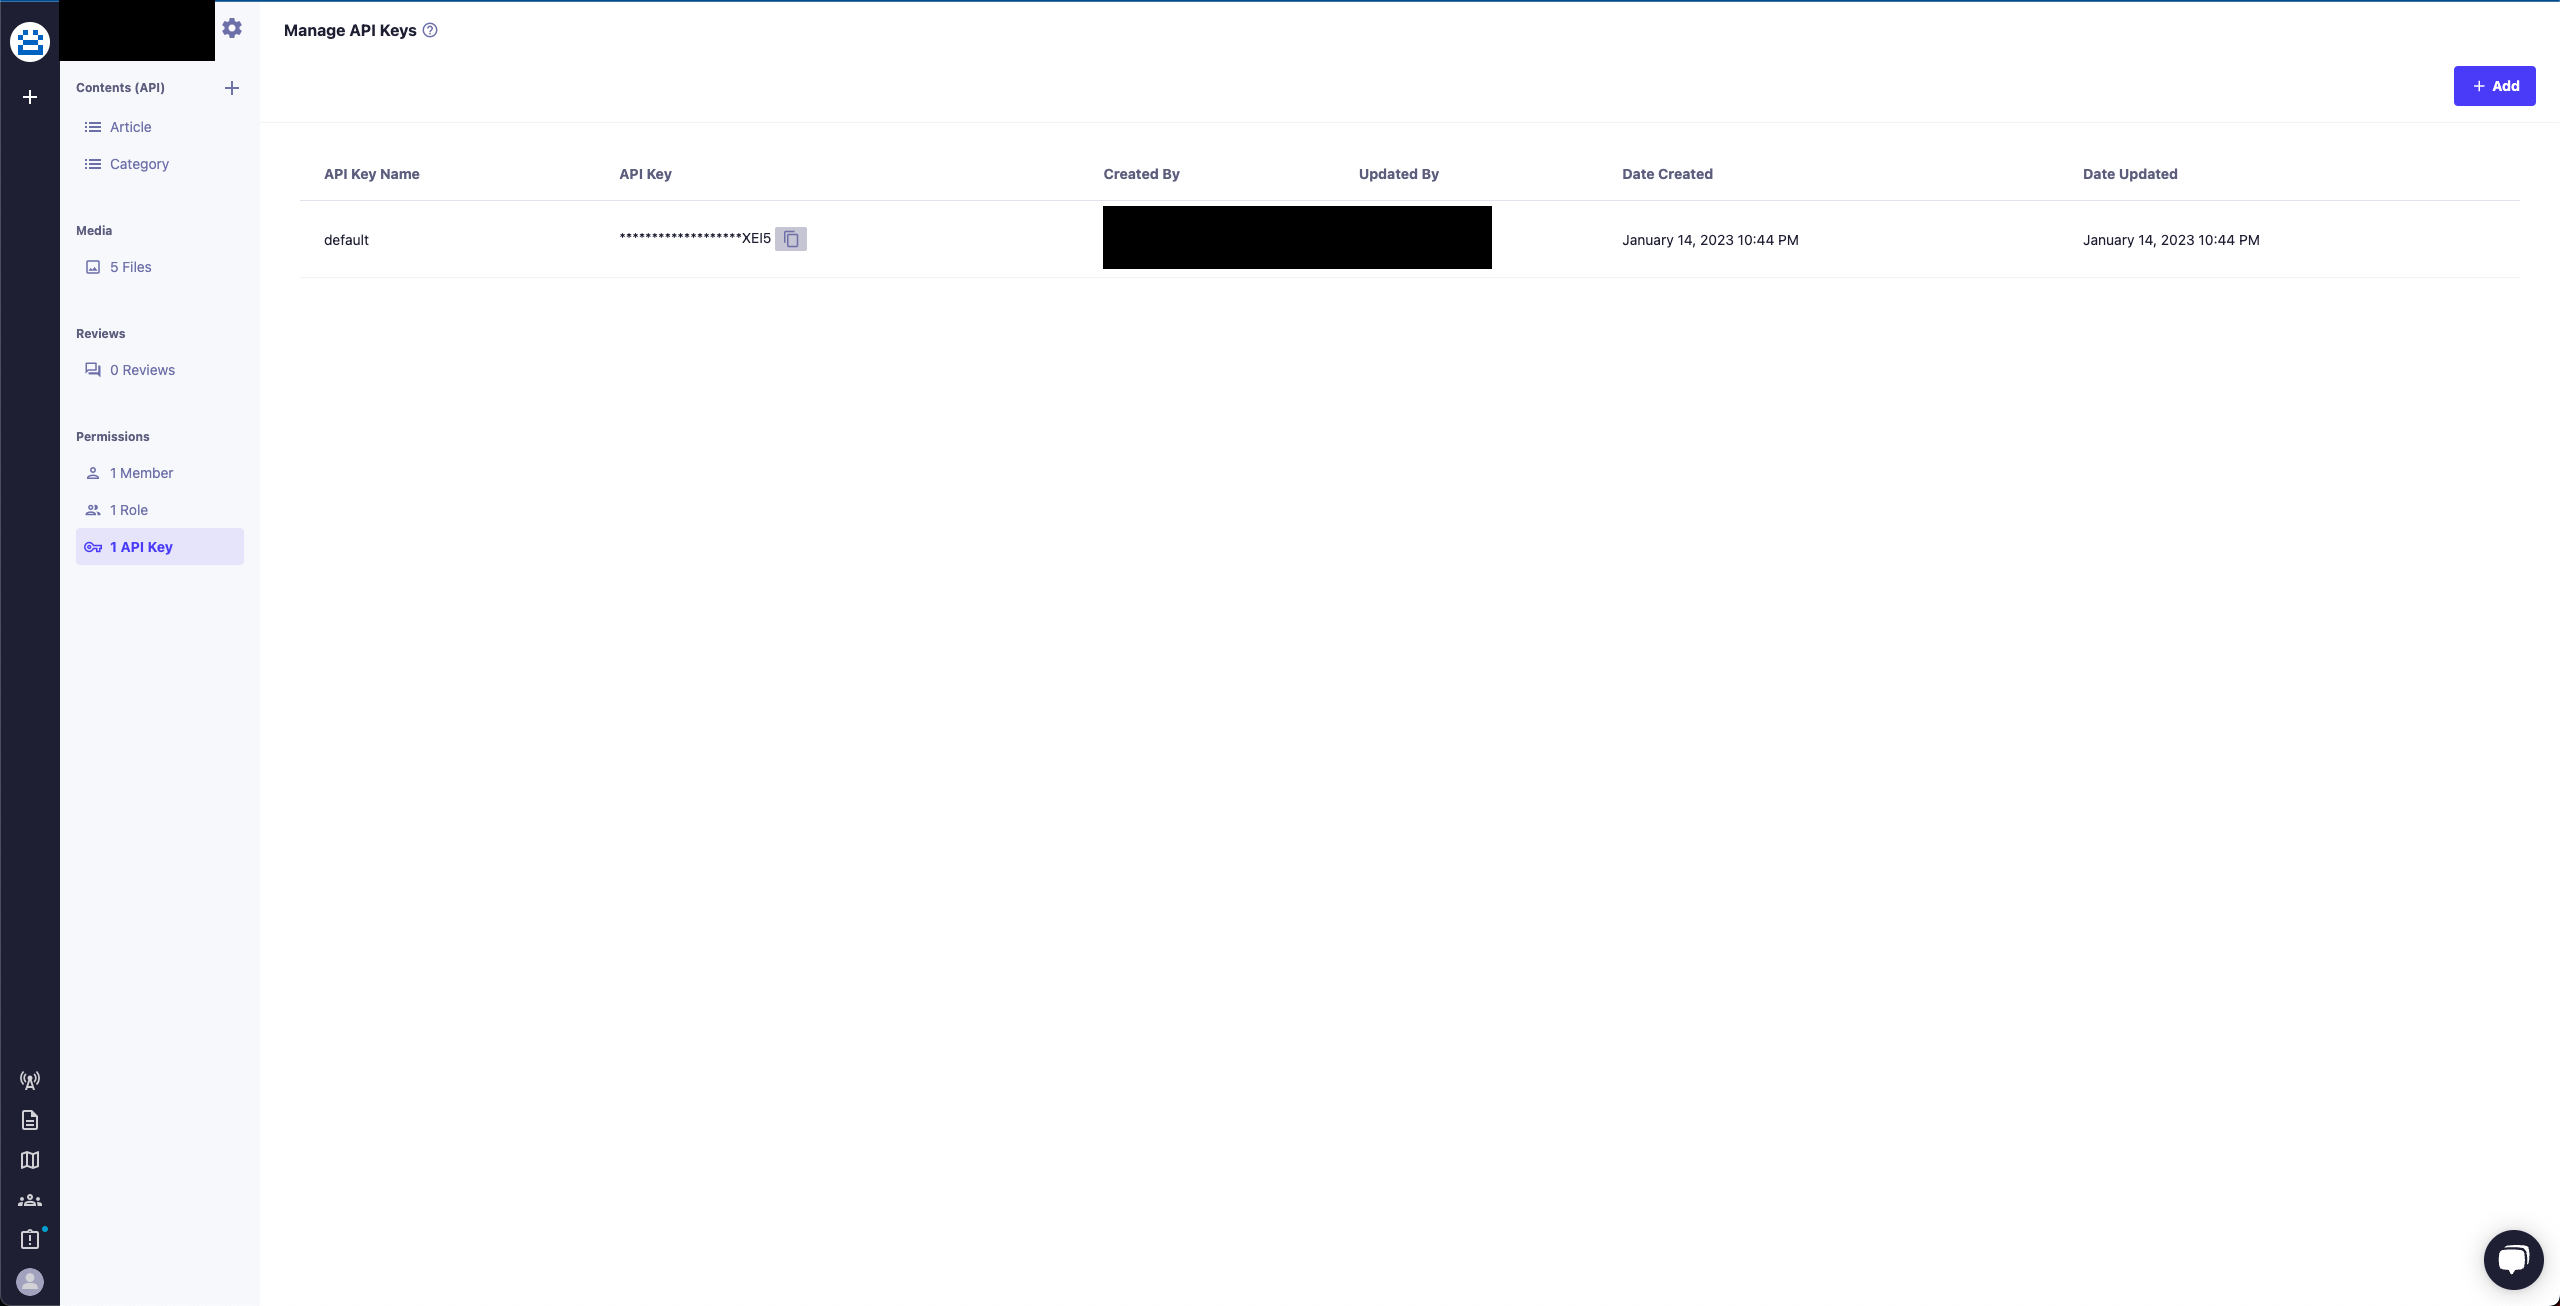
コピーしたら、環境変数に保存しておきます。
EDITOR="code --wait" bin/rails credentials:edit
microcms:
  api_key: "xxxxxxxx-xxxx-xxxx-xxxx-xxxxxxxxxxxx"
次に、対象のContentsのAPI Settingsから、APIのURLを確認します。
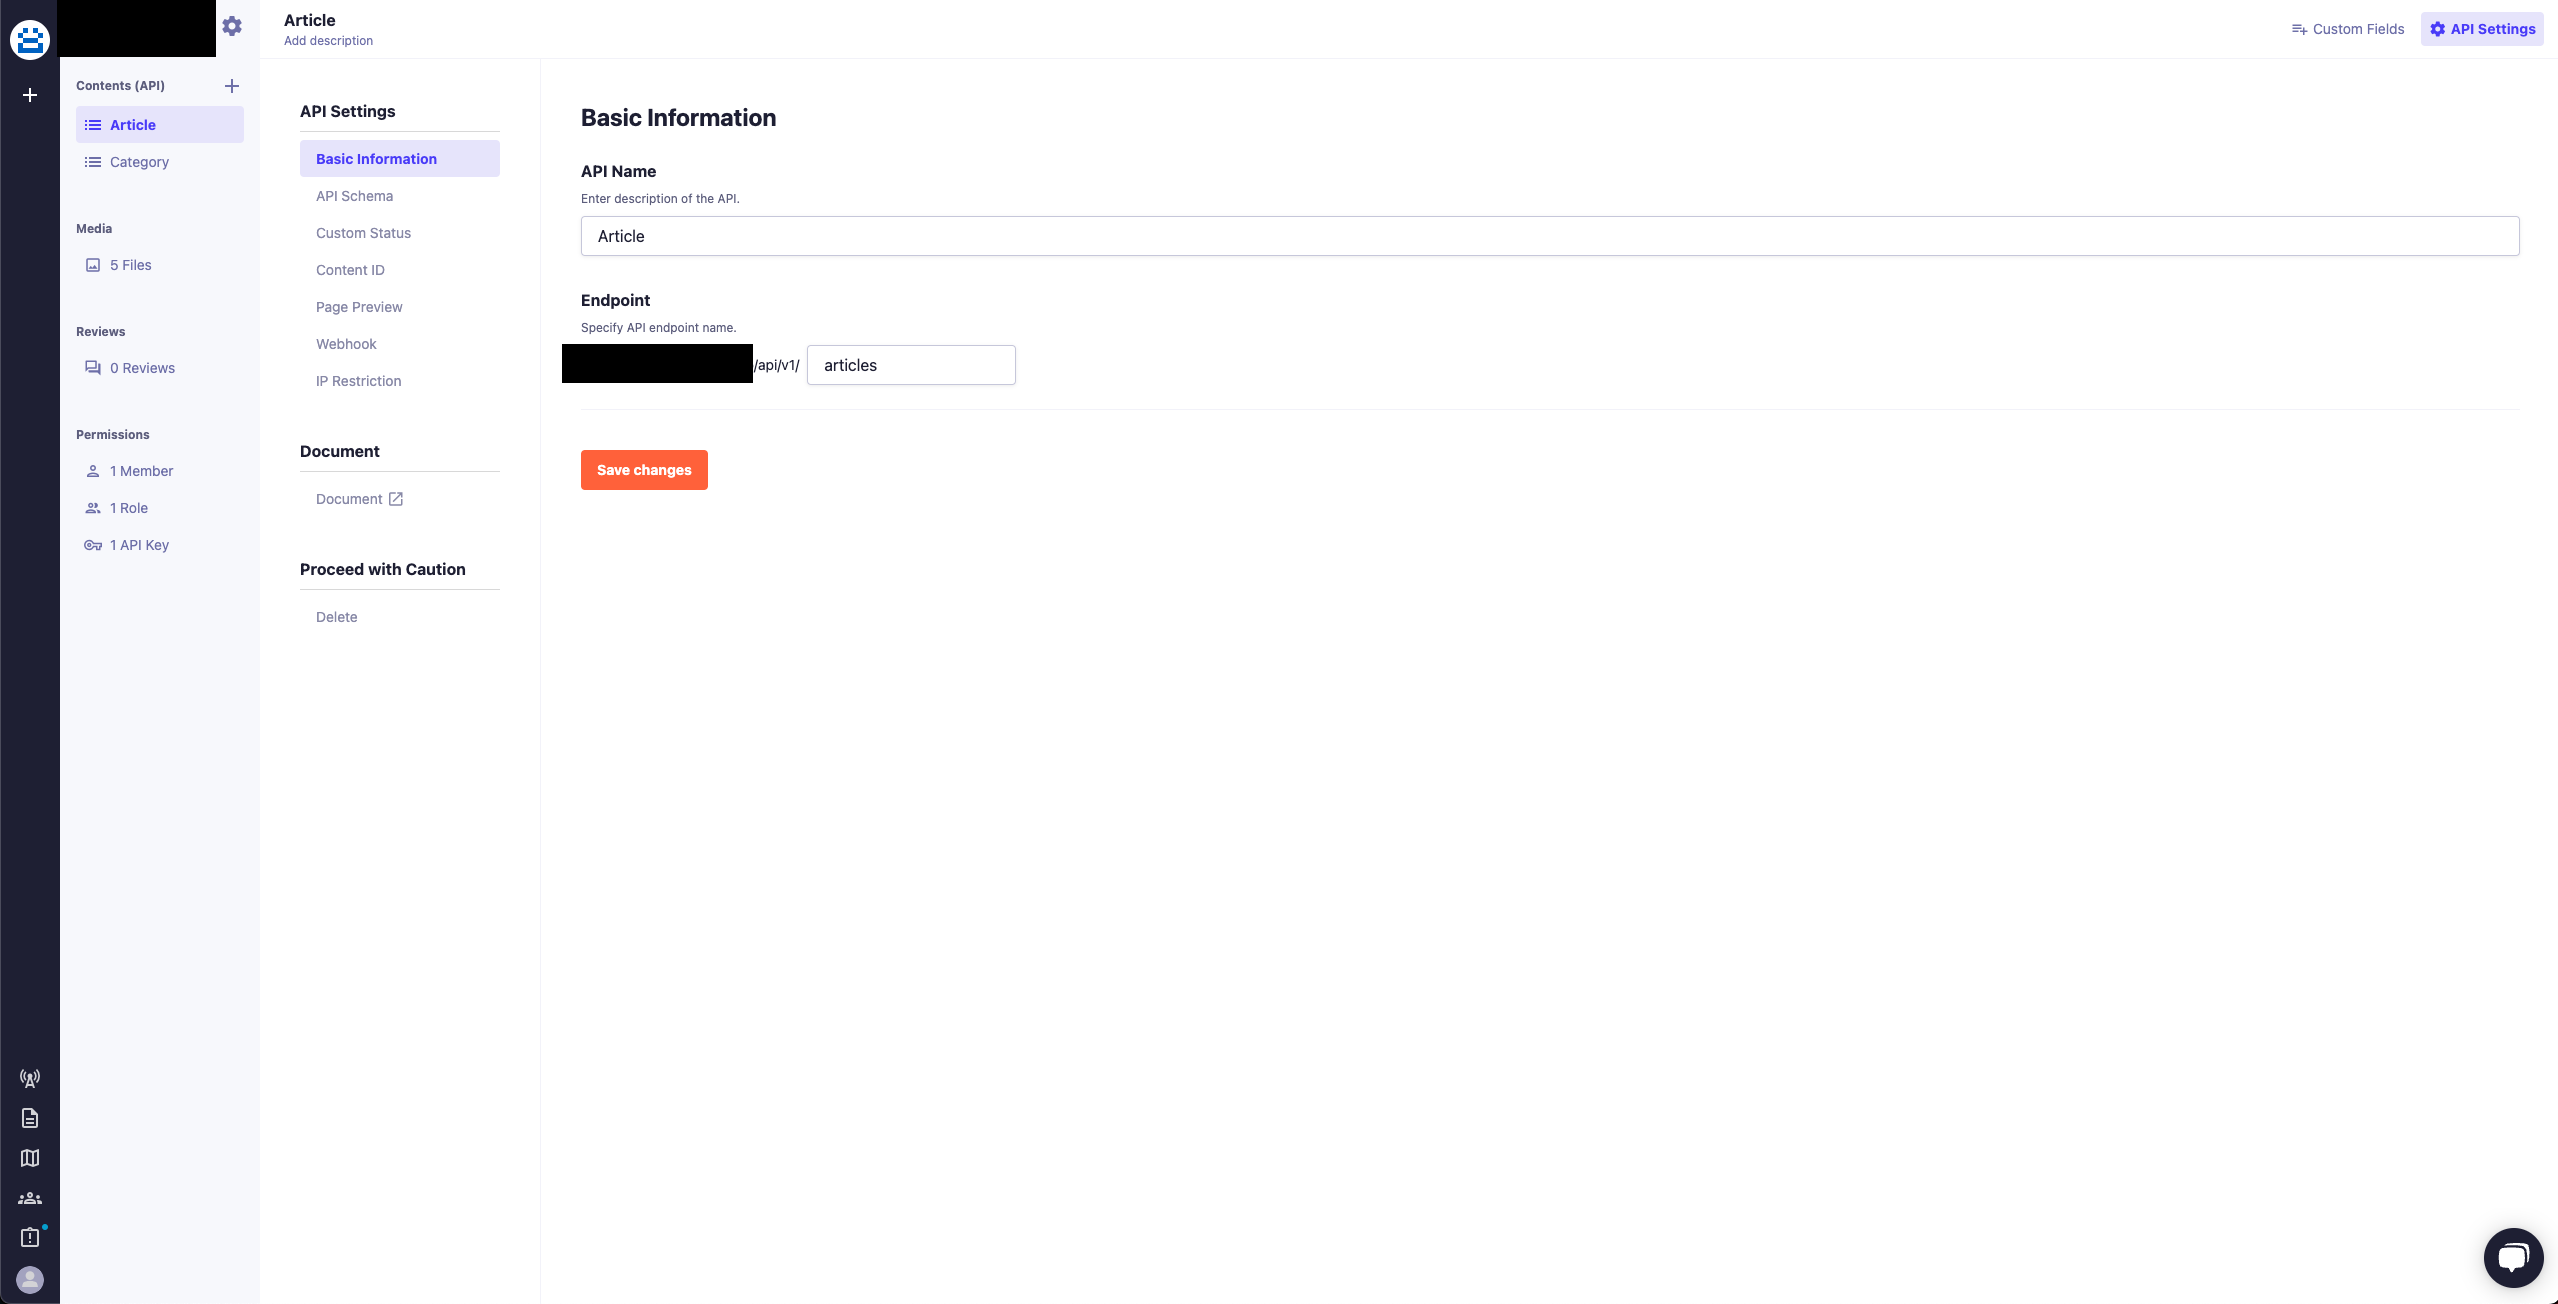
このURLも環境変数に保存しておきます。
microcms:
  api_key: "xxxxxxxx-xxxx-xxxx-xxxx-xxxxxxxxxxxx"
  xxxxx_url: "https://xxxxx.microcms.io/api/v1/xxxxx" # 対象のContent名のURLとしています
Articleモデルを作成する
それでは次にArticleモデルを作成しましょう。
今回とってくるカラムは、デフォルトで用意されている以下の6つとします。
- id
- title
- content
- published_at
- eyecatch
- category
microCMSのAPIドキュメントはこちらで確認できます。
RubyのSDKもありましたが、そんなに難しいことをするわけではないので今回はHTTPクライアントを使って実装します。
一覧を取得するpageメソッドとidをもとに1件取得するfindメソッドをクラスソッドとして実装します。
kaminari gemのように、返り値にoffsetやtotal_countが含まれた状態で返ってくるのでそこに注意が必要です。
class Article
  attr_accessor :id, :title, :content, :published_at, :eyecatch, :category

  def initialize(id:, title:, content:, published_at:, eyecatch:, category:) # rubocop:disable Metrics/ParameterLists
    @id = id
    @title = title
    @content = content
    @published_at = published_at
    @eyecatch = eyecatch
    @category = category
  end

  def self.page(offset: 0, limit: 10)
    uri = URI.parse("#{Rails.application.credentials.dig(:microcms, :articles_url)}?offset=#{offset}&limit=#{limit}")
    header = { 'X-MICROCMS-API-KEY': Rails.application.credentials.dig(:microcms, :api_key) }
    res = Net::HTTP.get_response(uri, header)

    raise ActiveRecord::RecordNotFound if res.code.to_i == 404
    raise StandardError unless res.code.to_i == 200

    body = JSON.parse(res.body, symbolize_names: true)

    articles = body[:contents].map do |content|
      new(
        id: content[:id],
        title: content[:title],
        content: content[:content],
        published_at: content[:publishedAt],
        eyecatch: content[:eyecatch],
        category: content[:category]
      )
    end
    [articles, body[:totalCount], body[:offset], body[:limit]]
  end

  def self.find(id)
    uri = URI.parse("#{Rails.application.credentials.dig(:microcms, :articles_url)}/#{id}")
    header = { 'X-MICROCMS-API-KEY': Rails.application.credentials.dig(:microcms, :api_key) }
    res = Net::HTTP.get_response(uri, header)

    raise ActiveRecord::RecordNotFound if res.code.to_i == 404
    raise StandardError unless res.code.to_i == 200

    body = JSON.parse(res.body, symbolize_names: true)

    new(
      id: body[:id],
      title: body[:title],
      content: body[:content],
      published_at: body[:publishedAt],
      eyecatch: body[:eyecatch],
      category: body[:category]
    )
  end
end
特に変わったところはないつもりですが、注意点としてはNet::HTTP.get_responseの第2引数にヘッダーを渡す必要があるところでしょうか。
X-MICROCMS-API-KEYというkeyでAPIキーを渡す必要があるのですが、古い記事だX-API-KEYというkeyで渡している記事が多いので注意が必要です。
このように実装できたら、次はrouteとコントローラーを作成します。
Rails.application.routes.draw do
  resources :articles, only: %i[index show]
end
class ArticlesController < ApplicationController
  def index
    offset = params[:offset] || 0
    limit = params[:limit] || 10
    @articles, @total_count, @offset, @limit = Article.page(offset:, limit:)
  end

  def show
    @article = Article.find(params[:id])
  end
end
最後に、シンプルなViewを作成しましょう。
- @articles.each do |article|
  = link_to article.title, article_path(article.id)
= @article.title
= @article.content.html_safe
これで、microCMSから記事を取得することができました。
今回はこのあたりで。